Skip to content
Marketing Factory Digital GmbH
Contact
Logo Marketing Factory Digital GmbH
  • Agency
    • About us
    • History
  • Services
    • Consulting, Analysis and Strategy
    • Programming and Development
      • Interface Development
      • PIM/ERP Links
      • Custom Development
      • Seamless CMS Integration
    • Hosting and Support
      • Cloud Strategies
      • Hosting Partners of Marketing Factory
    • Services with Third Parties
  • Technology
    • TYPO3
      • Current TYPO3 Versions
    • Shopware
    • IT Security
      • DDoS Protection
      • Continuous Upgrading
      • Privacy First
    • Tech Stack
      • Commitment to Open Source
      • Technology Selection
      • PHP Ecosystem
      • Containerisation & Clustering
      • Content Delivery Networks
      • Search Technologies
  • References
    • Projects
    • Clients
      • Client List
    • Screenshot of the homepage of the new Maxion Wheels websiteNEW: Relaunch of the corporate website of Maxion Wheels
  • Community
    • Community Initiatives
  • Blog
  • Contact
  • Deutsch
  • English

You are here:

  1. Blog
  2. DIY: We are building a GDPR button
GDPR button teaser
  • Tutorial
  • Data protection
  • Agency life
05.07.2018

DIY: We are building a GDPR button


Show larger version for: GDPR button
GDPR button


Actually quite natural: You leave the workplace and lock the computer. On the Mac there is the active corner, mouse pointer to the bottom right (or wherever you set the active corner 😉 ) and the screensaver is already active. We have also discussed these or similar solutions in internal GDPR training courses.


But it's not really that convenient: Actually, you just want to press a button and lock the computer. Ideally, the button is so big that you really always hit it, even when you've just jumped up to open the door for the delivery man.

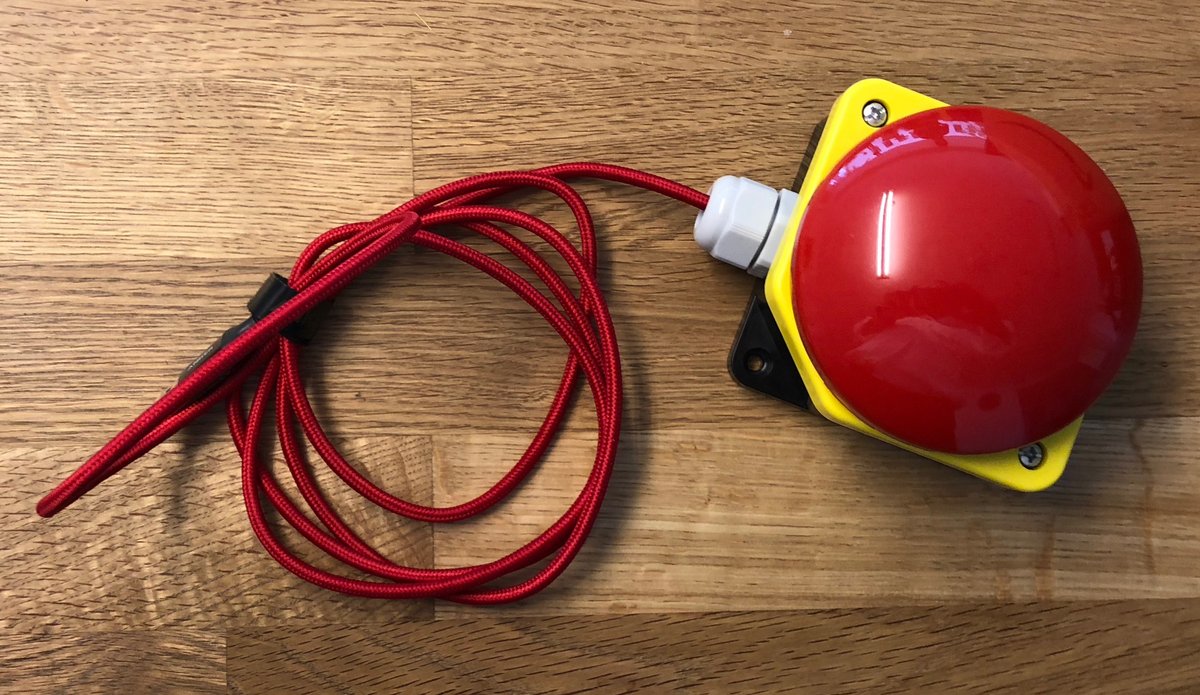
The solution: a buzzer – a kind of GDPR-compliant emergency stop button. What started as an idea over an espresso after lunch, we put into practice and created instructions for you to rebuild yourself.

What you need to build the button

  • Palm Switch
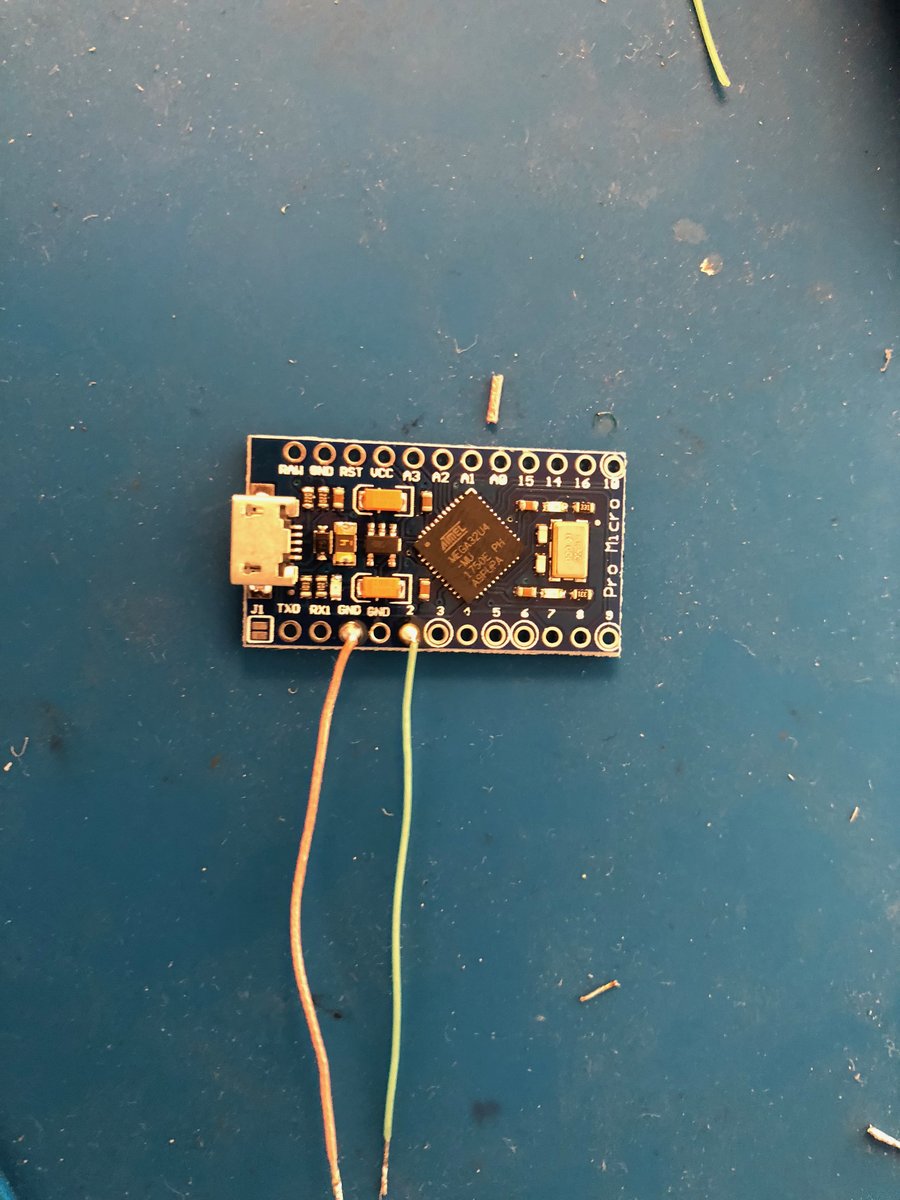
  • Arduino with Hardware-USB: Arduino Pro Micro
  • Matching USB-Micro-Cable
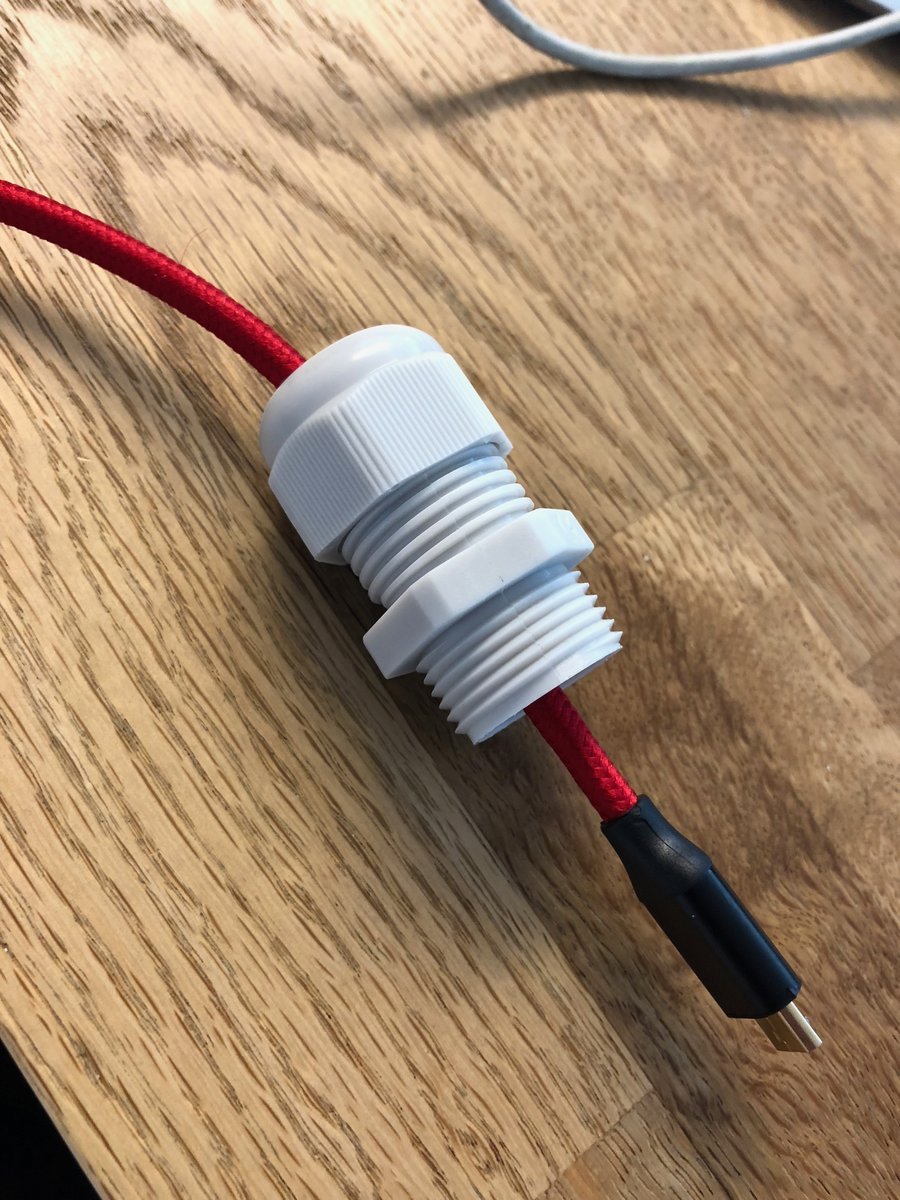
  • Stuffing Locknut
  • Solder and Stranded Wire

(Affiliate-Links)

Tools

  • Screwdriver
  • Soldering Iron
  • Pliers
  • Drill with 20mm drill to open the cable bushing on the button

The idea

The palm switch comes with two different buttons for installation in the housing. The red button opens the electrical connection when you press the button that closes the green one. For this project we only use the green button.

The Arduino we chose has an integrated USB controller. This allows us to program it as a so-called human input device, which behaves like a keyboard on the connected computer.

The programming

For the Arduino we wrote a small program that sends the key combination (Control+Command+Q for Mac) to lock the computer as soon as pin 2 is pulled to ground. We have published the program code on GitHub, for Windows or Linux the key combination must be adapted accordingly. The program is either transferred directly from the IDE (press the reset button twice) or written with an AVR ISP programmer. The latter is much more convenient with the Arduino Pro Micro used and is therefore our choice.

Show larger version for: Connection wire
Connection wire
Show larger version for: Preparation
Preparation
Show larger version for: Cable and discharge
Cable and discharge

The assembly

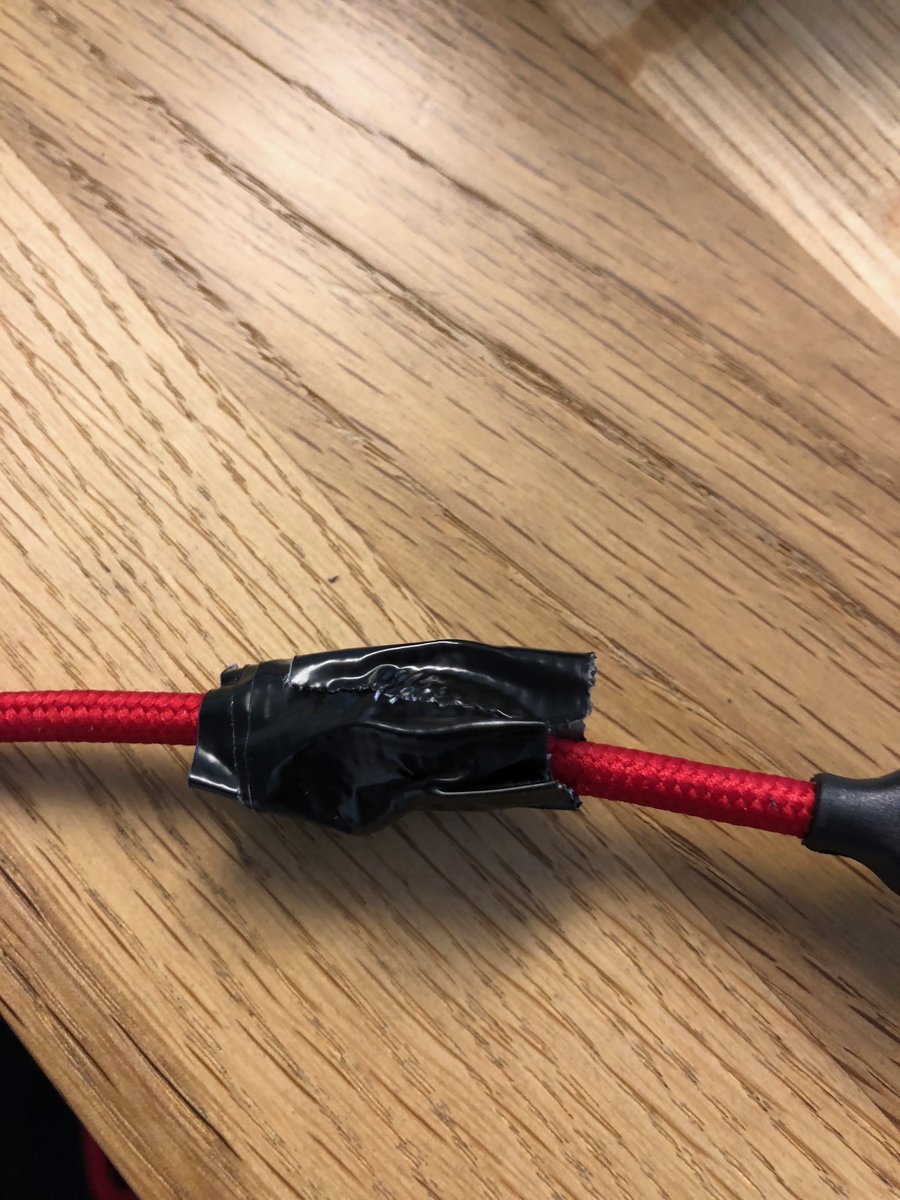
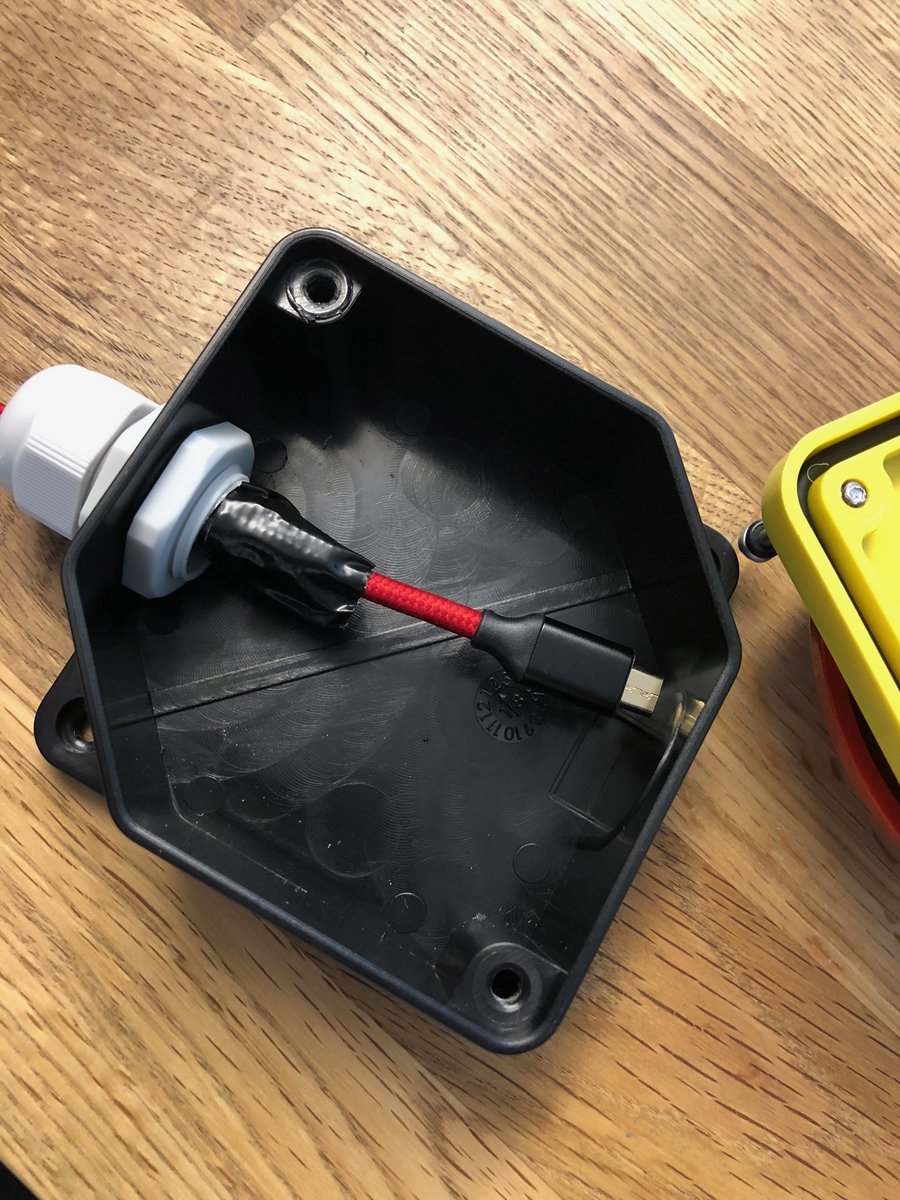
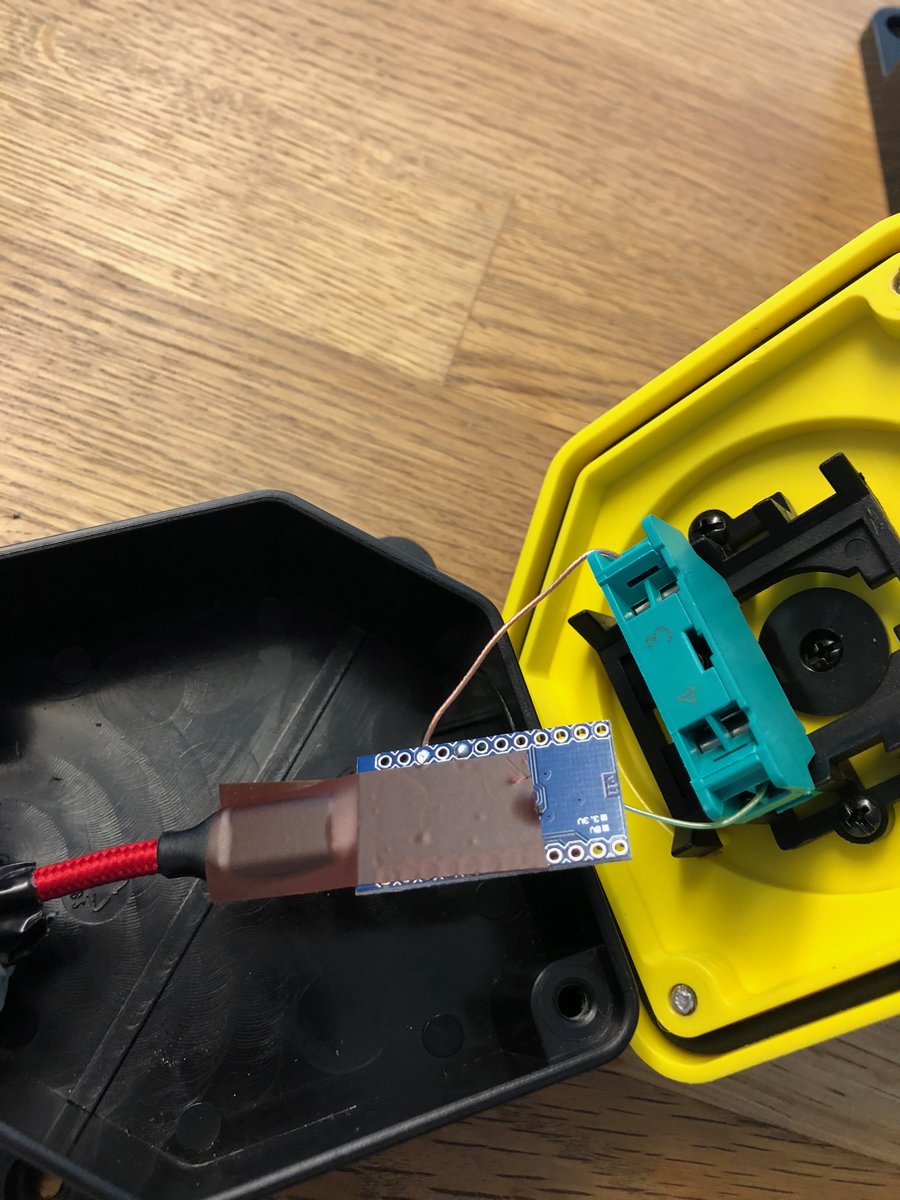
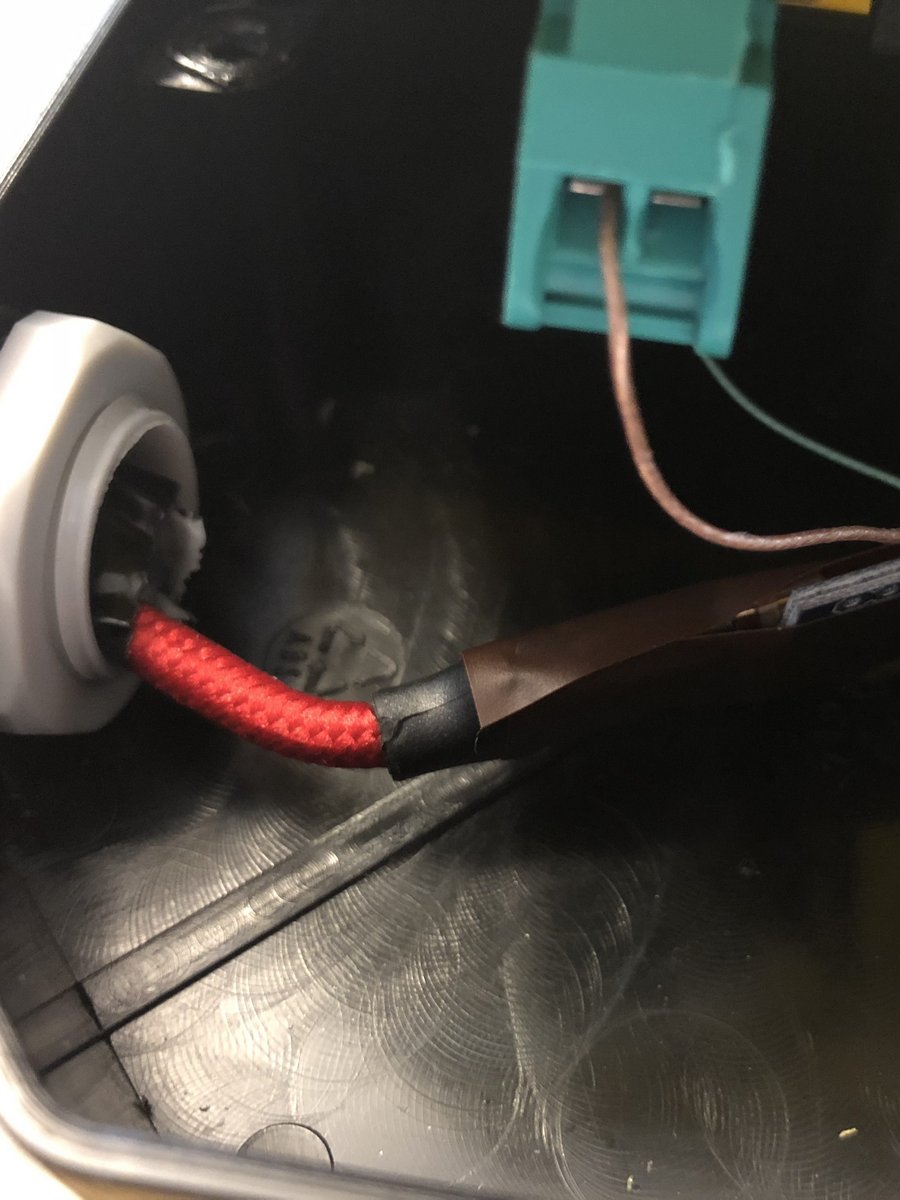
About 6 cm of stranded wire is soldered to pins 2 and a GND pin on the Arduino and tinned at the other end. The USB cable is fed through the cable relief with the micro USB plug and made thicker with a cable tie and tape so that it is held by the cable relief and can be installed firmly in the housing.

Show larger version for: Green switch
Green switch
Show larger version for: Cable in housing
Cable in housing

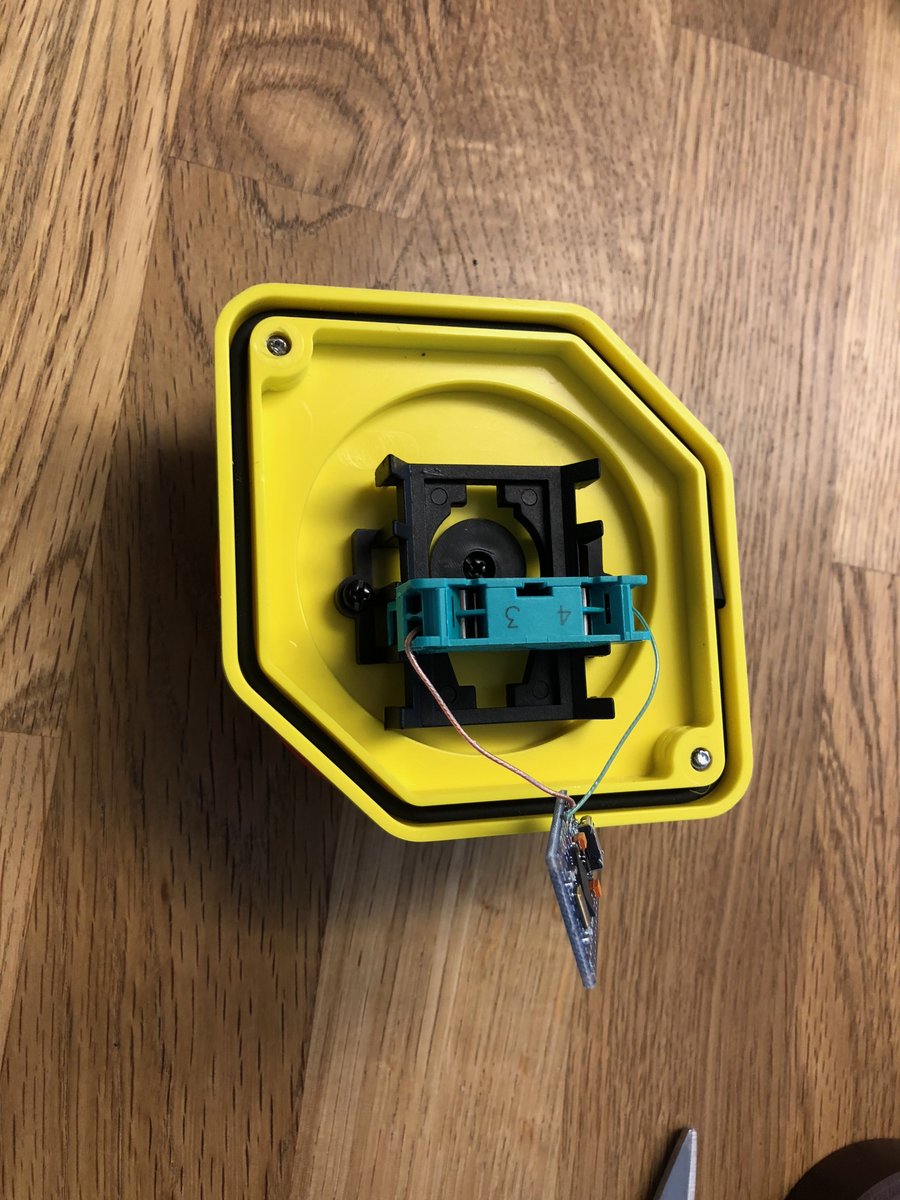
Then the green button is mounted in the switch and the two free strands are connected to the button in the terminal connections.

Show larger version for: Attach plug
Attach plug
Show larger version for: Secure plug
Secure plug
Show larger version for: Screw it down
Screw it down

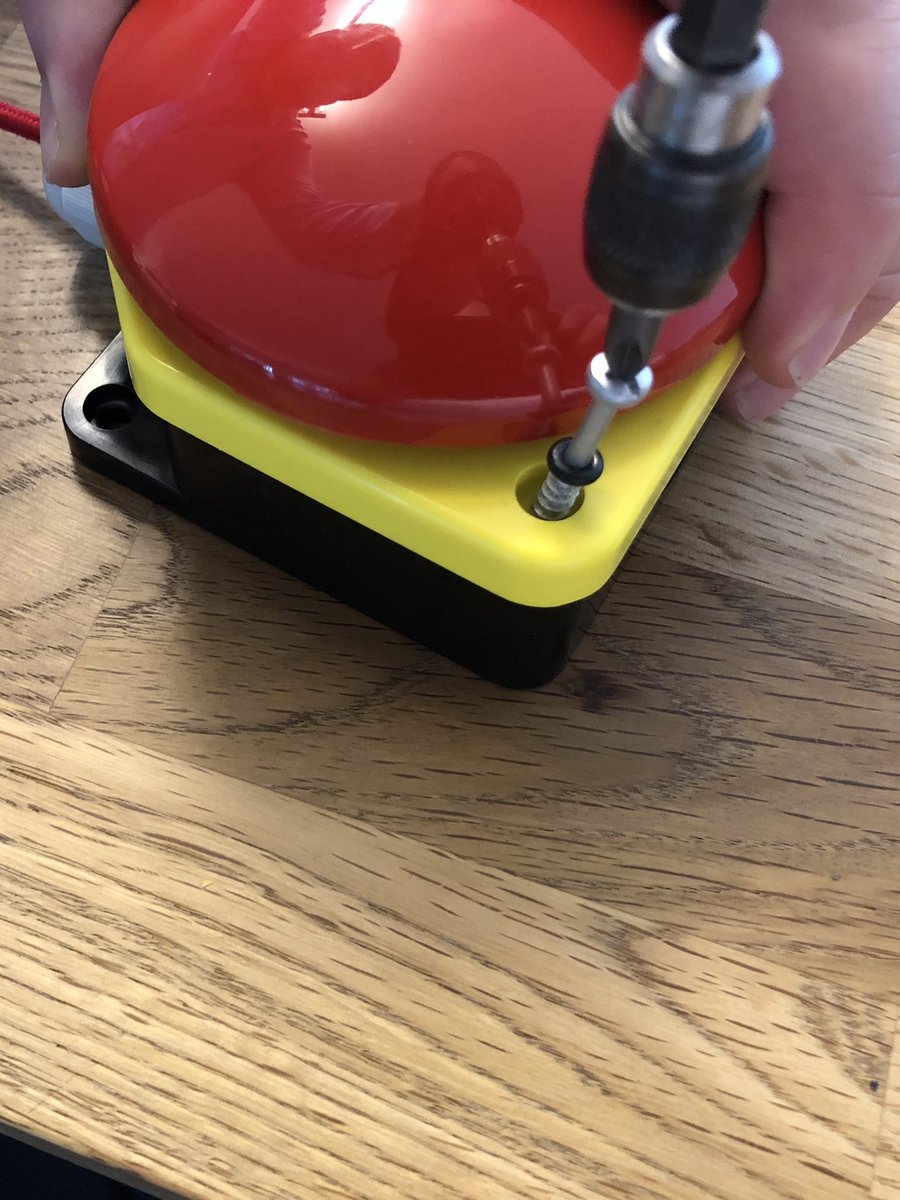
Now only the micro USB plug has to be plugged into the USB socket (secure with a piece of adhesive tape) and installed in the button. Screw and done!

The test

When first connected to the computer, the Arduino registers itself as a USB keyboard - further configuration is not necessary and can be canceled (macOS in particular likes to do this). A bold push on the button locks the computer.

Further expansion

The switch has enough space for a total of 3 buttons. You could thus install 3 Arduinos in the housing, each controlling a computer. In the event that you have several workstation computers (Mac, Windows, Linux), it is possible to lock all computers at once. You just have to remember which computer has to be connected to which Arduino. It is then advisable to use different colored USB cables.

Ingo Schmitt

Fluent in TypoScript, php and sql; knows perl and bash and has very basic knowledge in java. Joined in 1996 and is meanwhile as managing director responsible for development, operation and hosting of our products. Articles in this blog cover technical and sustainable topics.

More posts by this author

Get blog posts as RSS feed

Related blog posts

  • Google Analytics Opt-Out using the Google Tag Manager (GDPR compliant)
  • User-friendly customization of the TYPO3 backend
  • Improving TYPO3 Container elements
  • In brief: Using forensics to keep tabs on Apache

Please feel free to share this article.


Comments

No comments yet.

Write a comment.

I have been informed that the processing of my data is on a voluntary basis and that I can refuse my consent without detrimental consequences for me or withdraw my consent at any time to Marketing Factory Digital GmbH by mail (Marienstraße 14, D-40212 Düsseldorf) or e-mail (info@marketing-factory.de).

I understand that the above data will be stored for as long as I wish to be contacted by Marketing Factory. After my revocation my data will be deleted. Further storage may take place in individual cases if this is required by law.

  • Data privacy policy
  • Legal notice

© Marketing Factory Digital GmbH

Picture Credits
  1. "GDPR button teaser": © Luisa Sofie Faßbender / Marketing Factory Digital GmbH
  2. "GDPR button": © Ingo Schmitt / Marketing Factory Digital GmbH
  3. "Anschluss Litze an Arduino": © Ingo Schmitt / Marketing Factory Digital GmbH
  4. "Preparation": © Ingo Schmitt / Marketing Factory Digital GmbH
  5. "Cable and discharge": © Ingo Schmitt / Marketing Factory Digital GmbH
  6. "Green switch": © Ingo Schmitt / Marketing Factory Digital GmbH
  7. "Cable in housing": © Ingo Schmitt / Marketing Factory Digital GmbH
  8. "Attach plug": © Ingo Schmitt / Marketing Factory Digital GmbH
  9. "Secure plug": © Ingo Schmitt / Marketing Factory Digital GmbH
  10. "Screw it down": © Ingo Schmitt / Marketing Factory Digital GmbH